To transpose rows and columns of a table in Word, you can use Microsoft Excel as an intermediary. Here are the steps:
- Copy the Table:
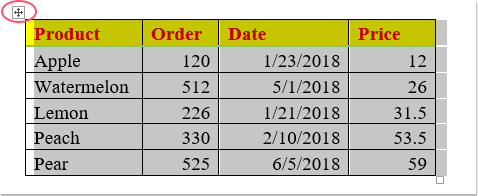
- Click the cross button to select the entire table in Word.
- Right-click and choose “Copy” or use the Ctrl+C keyboard shortcut.
- Open Excel:
- Open a new or existing Excel worksheet.
- Paste the Table:
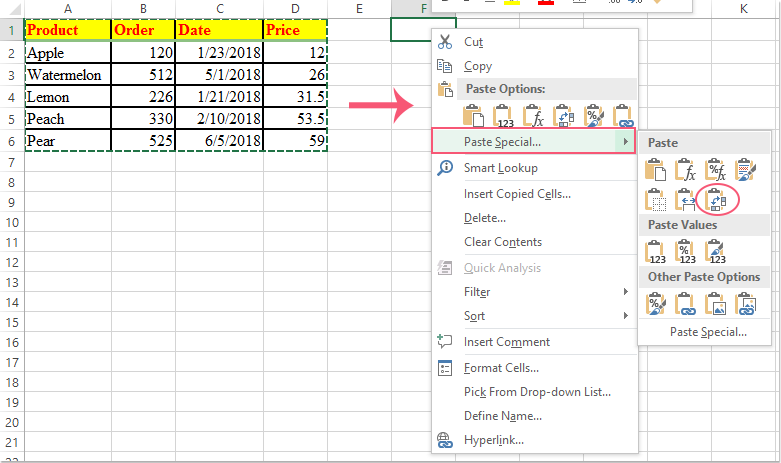
- Right-click on a blank cell in Excel.
- Choose “Paste Special” from the context menu.
- Select “Transpose” from the options.
- Click “OK” to paste the transposed table.
- Adjust Borders (if needed):
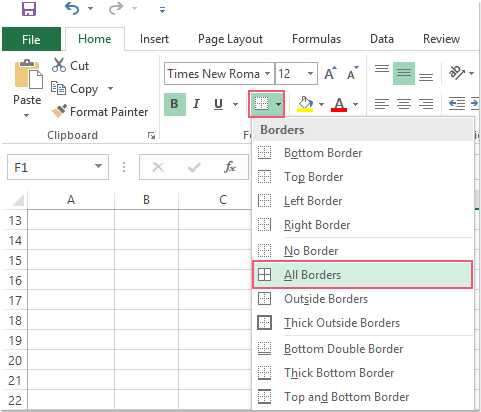
- If some borders are missing after transposing, select the transposed table in Excel.
- Go to the “Home” tab.
- Click on the “All Borders” option under the “Borders” drop-down list.
- Copy Transposed Table:
- Select the transposed table in Excel.
- Right-click and choose “Copy” or use the Ctrl+C keyboard shortcut.
- Paste in Word:
- Switch back to your Word document.
- Right-click at the insertion point in Word.
- Choose “Paste” or use the Ctrl+V keyboard shortcut.
How to transpose rows and columns of table in Word
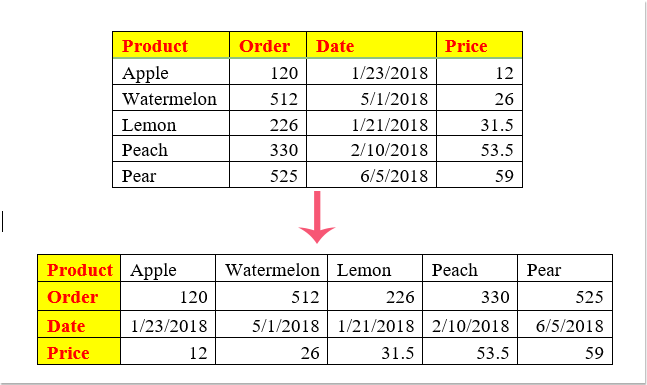
Now, you will have the table transposed in your Word document. This method utilizes the transpose feature in Excel to switch rows and columns effectively.
Alternatively, you can use third-party tools like Kutools for Word to transpose rows and columns directly within Word. These tools can simplify the process and provide additional functionalities.


