Apply Watermark to All Pages in a Word Document
To apply a watermark to all pages in a Word document:
- Open your Word document.
- Click on the “Design” tab in the ribbon.
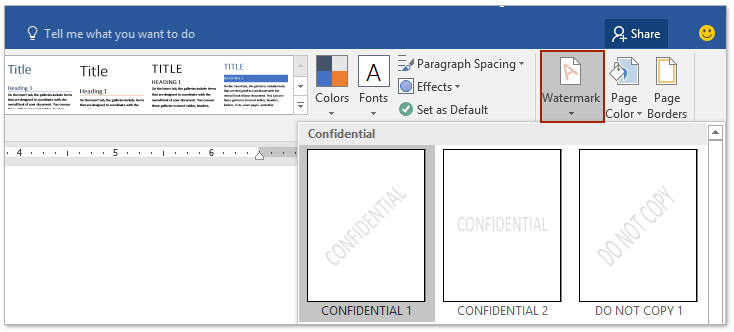
- In the “Page Background” group, click on “Watermark.”
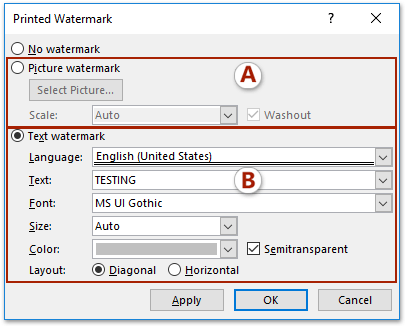
- Choose a watermark from the gallery, or select “Custom Watermark” to create a custom one.
- For a picture watermark, select “Picture watermark” and choose the picture.
- For a text watermark, select “Text watermark” and customize the text and formatting.
- The watermark will be applied to all pages in your document.
Apply Watermark to One Page in a Word Document
If you want to apply a watermark to only one page in a Word document, follow these steps:
- Go to the beginning of the page where you want to add the watermark.
- Click on the “Layout” (or “Page Layout” in Word 2007/2010/2013) tab.
- In the “Page Setup” group, click on “Breaks” and choose “Next Page.” This will create a section break.

- Go to the end of the same page and again click on “Breaks” > “Next Page.”
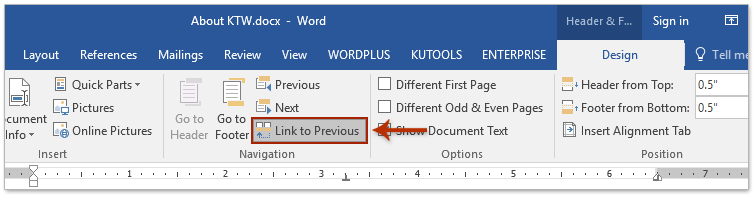
- Double-click the header area of the second page to enable the Header & Footer Tools.
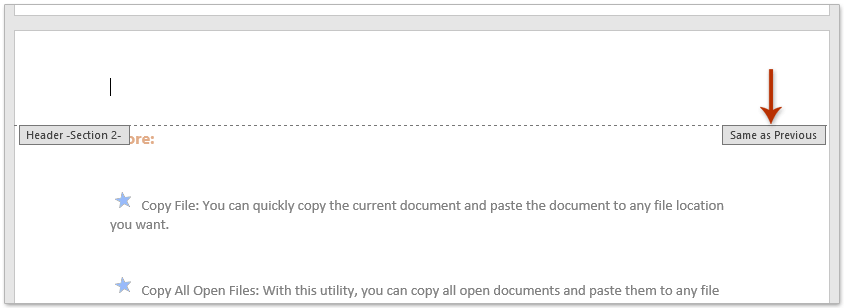
- In the “Options” group, click on “Link to Previous” to unlink the header from the previous section.
- Repeat step 6 for the header of the third page to ensure it’s not linked to the previous section.
- Go back to the header of the second page, click on “Design” (or “Page Layout” in Word 2007/2010) > “Watermark,” and choose the watermark you want.
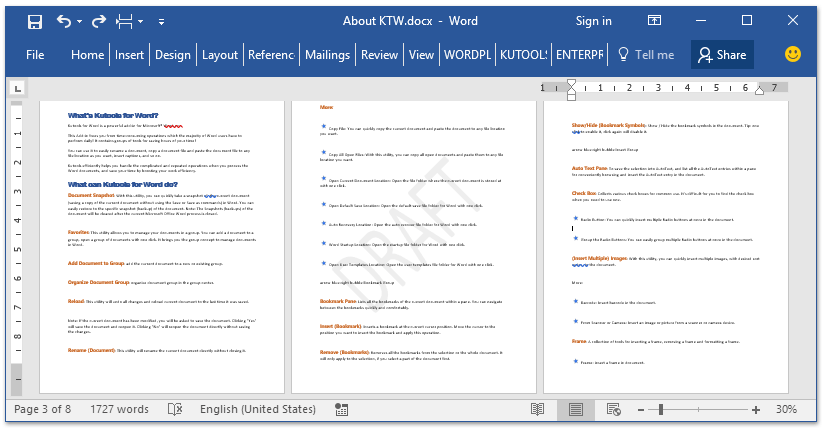
How to apply watermark to one or all pages in a Word document
Now, the watermark will only appear on the second page of your Word document.


