If you want to add a background image to only one page in a Word document, you can use the following workaround:
- Scroll to the specific page where you want to add the background image.
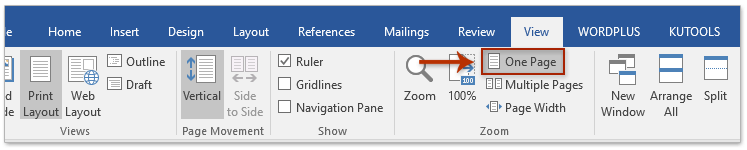
- Click on the “View” tab in the ribbon.
- In the “Views” group, click on “One Page” to display the entire page on the screen.
- Click on the “Insert” tab in the ribbon.
- In the “Illustrations” group, click on “Shapes” and choose “Rectangle.”
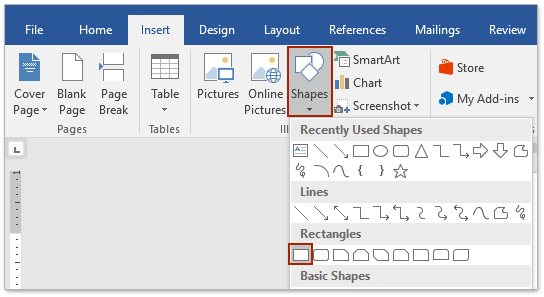
- Draw a rectangle that covers the entire page. This will act as the container for the background image.
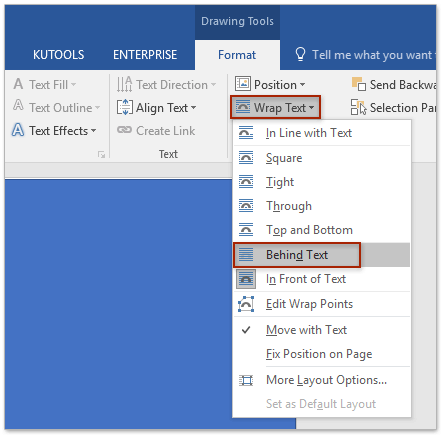
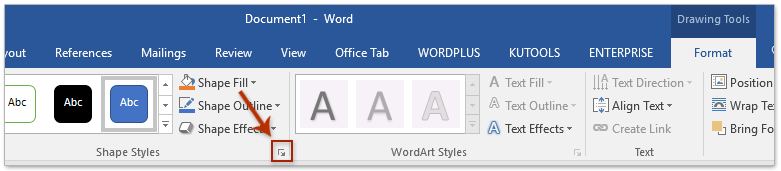
- With the rectangle selected, click on the “Format” tab under “Drawing Tools.”
- In the “Arrange” group, click on “Wrap Text” and choose “Behind Text.”
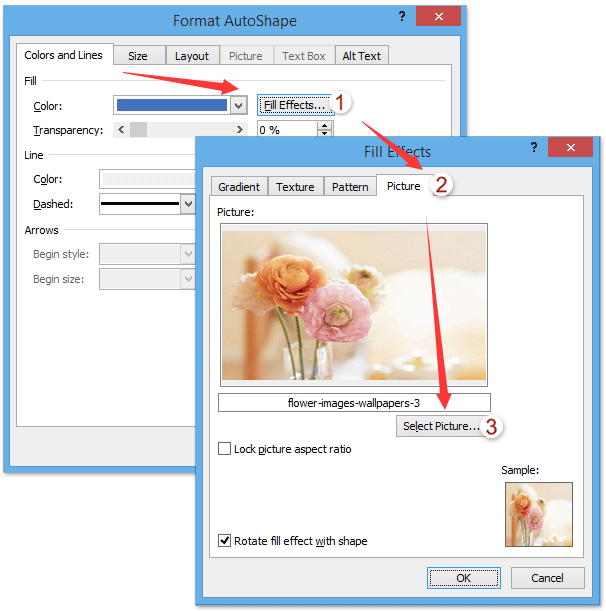
- Click on the small arrow at the bottom-right corner of the “Shape Fill” button in the “Drawing Tools” tab.
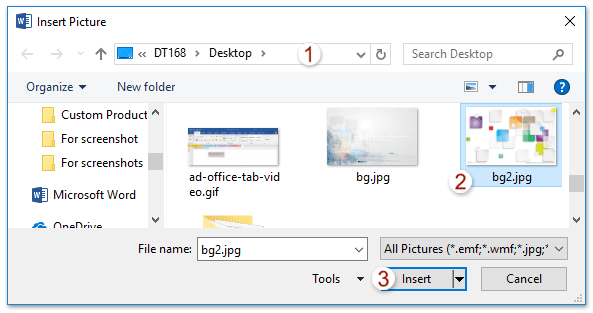
- In the Format Picture pane, check the “Picture or texture fill” option under the Fill section.
- Click the “File” button in the Format Picture pane, and insert the desired background image.
- Check the “Tile picture as texture” option in the Format Picture pane.
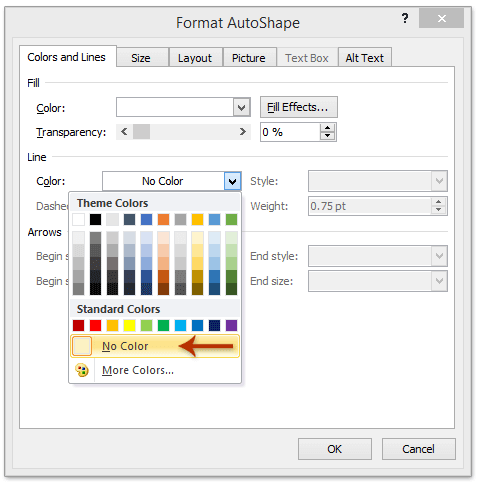
- Expand the “Line” section and check the “No line” option to remove the border around the rectangle.
-
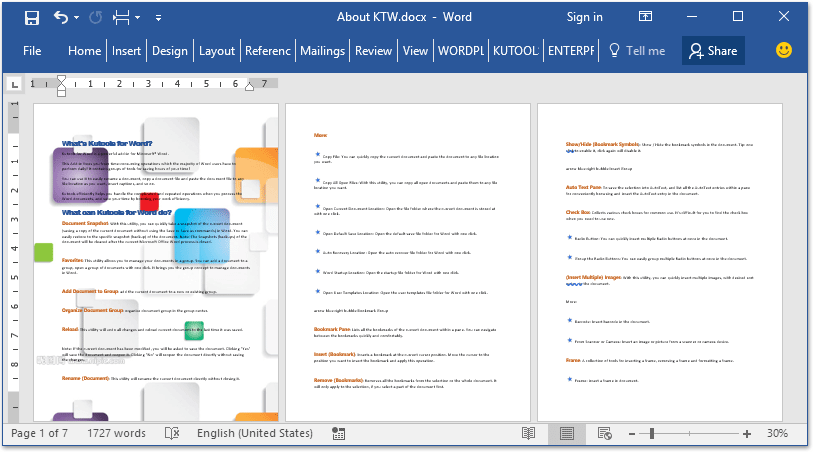
Insert a Background Image to Only One Page in Word
Your background image is now applied to only the specified page.
By following these steps, you’ve effectively added a background image to a single page in your Word document.


