While you might be familiar with displaying a Word document in outline view, printing it in outline view is also straightforward. Here’s a simple guide to help you print a Word document in outline view:
- Open the Word document you want to print in outline view.
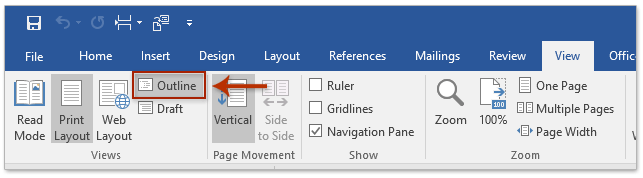
- Click on the “View” tab in the Word ribbon, and select “Outline” to switch to outline view.
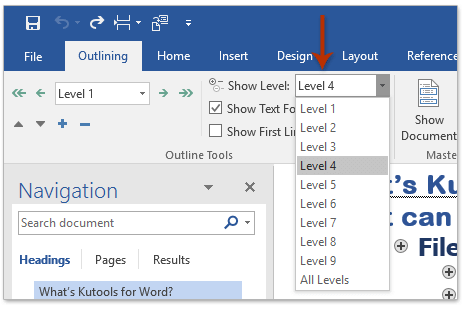
- On the “View” tab, locate the “Show Level” drop-down list. Choose the appropriate level from the list based on your preferences.
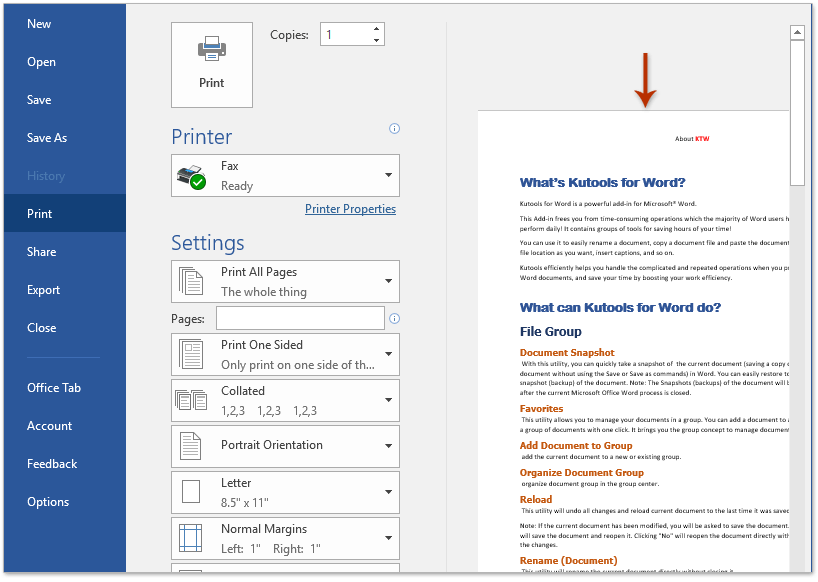
- Now, click on the “File” tab, and select “Print.”
Note: The Print preview may display the entire document in Print Layout view; however, the actual printout will be in the outline view.
- In the Print menu, choose a printer from the “Printer” drop-down list.
- Click the “Print” button to start the printing process.
How to Print a Word Document in Outline View
Your Word document will be printed in outline view according to the specified level, even though the Print preview may show it in Print Layout view.


