Locating Named Ranges in Excel Made Easy. Naming ranges in Excel is a quick and efficient method to reference cells in formulas. It allows you to create multiple Locating Named Ranges in Excel within a spreadsheet, simplifying cell references in formulas.
However, when dealing with numerous Locating Named Ranges in Excel, it can be challenging to recall their names and locations.
In this guide, we’ll demonstrate how to locate named ranges within the current workbook using the Name Manager.
Locating Named Ranges in Excel Made Easy
Steps to Find Named Ranges Using Name Manager:
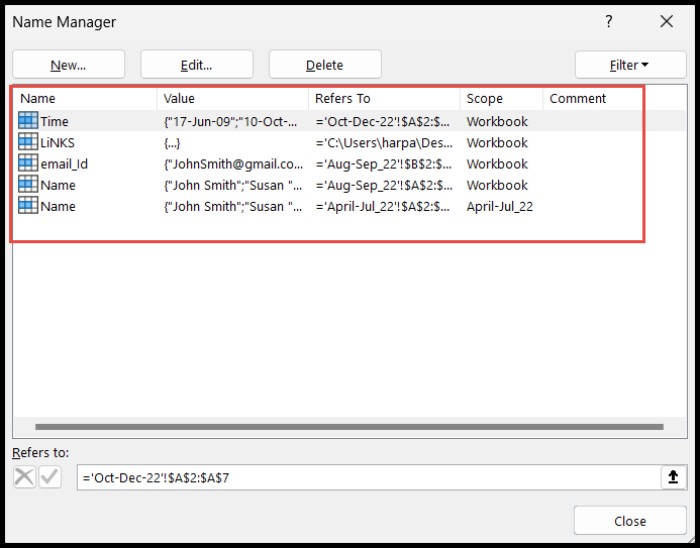
- Navigate to the “Formulas” tab and click on the “Name Manager” icon in the “Defined Names” group. Alternatively, press “Ctrl + F3” to open the Name Manager dialog box.

- In the Name Manager dialog box, you’ll find a list of named ranges along with their names and locations. Double-click on a named range to edit it or access its relative cells.
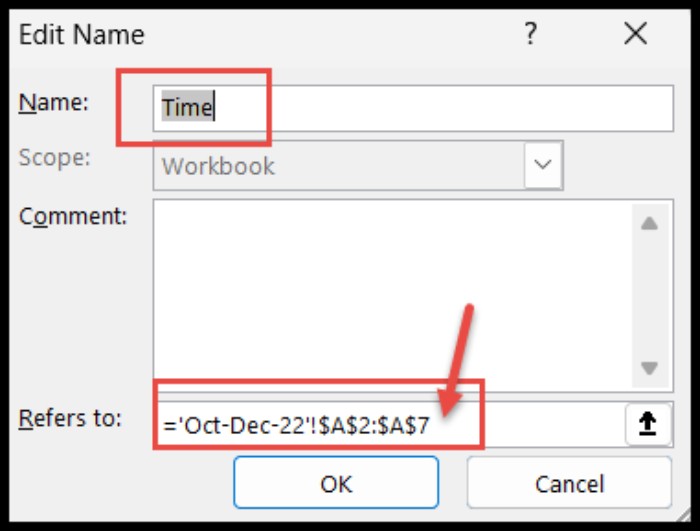
- To change the name of a named range, double-click on it, update the name in the “Name” field, and click OK.
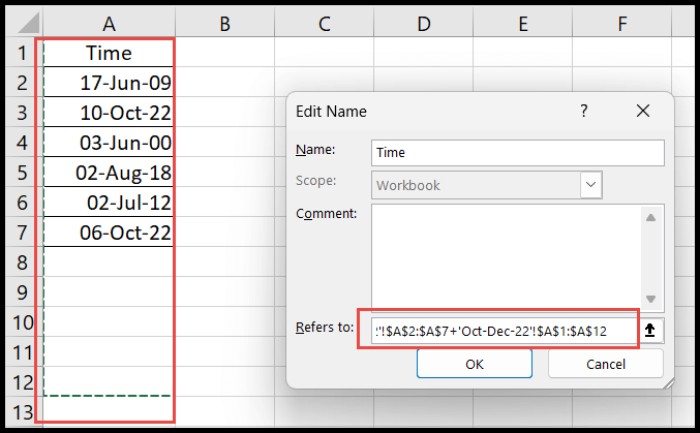
- You can also go to the referred cells by clicking on the last reference in the dialog box.
Finding Named Ranges Using Go To Option:
- Go to the “Home” tab, click on “Find & Select,” and choose the “GO TO” option. Alternatively, press “Ctrl + G” to open the “GO TO” dialog box.
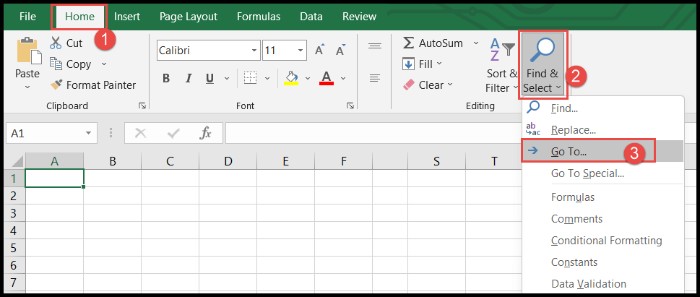
- In the “GO TO” dialog box, you’ll find a list of named ranges within your workbook.
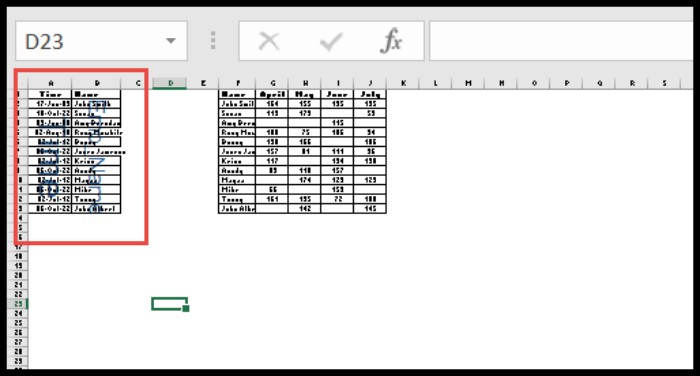
Finding Named Ranges by Zooming Out:
Zoom out the spreadsheet to 30%, and the names of named ranges will be highlighted on their relative cells.
Finding Named Ranges from the Name Box:
Check the top-left “Name Box” of the spreadsheet to find named ranges. Click on the name in the box to navigate to the relevant cells of the named range.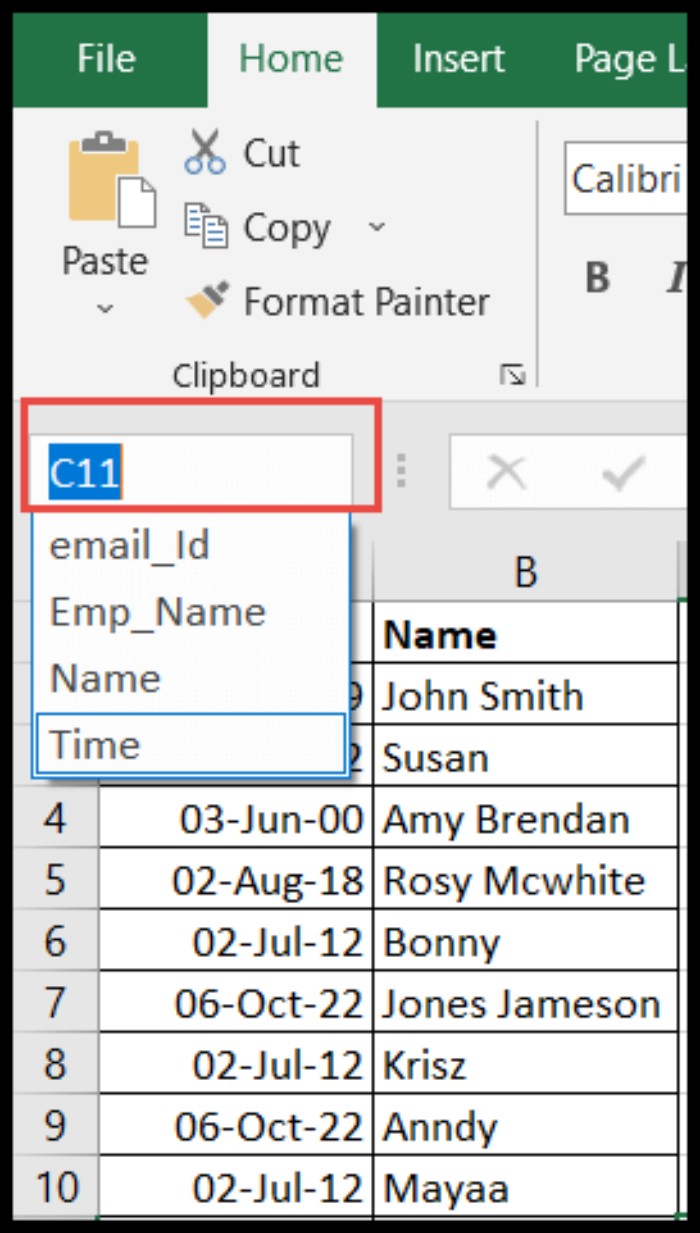
Discovering and managing named ranges in Excel is crucial for efficient data handling and formula application. Use these methods to streamline your workflow and make the most out of named ranges in your workbooks.


