To automatically add the current date to the file name when saving a Word document, follow these steps:
- Press ALT + F11 to open the Microsoft Visual Basic for Applications window.
- Click on Insert > Module, then copy and paste the following code into the open module:
Public Sub FileSave1()
Dim xDlg As Dialog
Dim xTitle As String
Dim xDlg As Dialog
Dim xTitle As String
On Error Resume Next
xTitle = ActiveDocument.BuiltInDocumentProperties(“Title”).Value
xTitle = xTitle & ” ” & Format((Year(Now() + 1) Mod 100), “20##”) & “-” & _
Format((Month(Now() + 1) Mod 100), “0#”) & “-” & _
Format((Day(Now()) Mod 100), “0#”)
Set xDlg = Dialogs(wdDialogFileSaveAs)
xDlg.Name = xTitle
xDlg.Show
End Sub
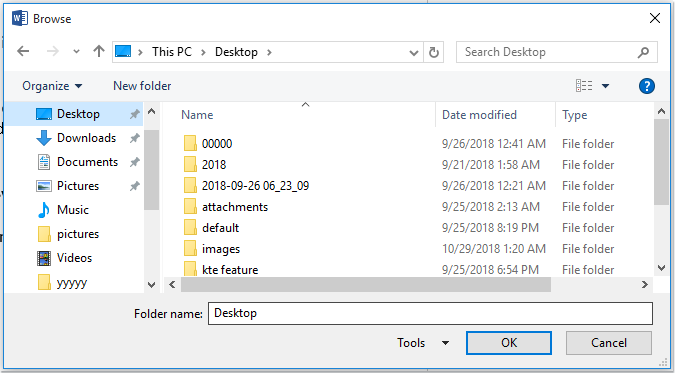
- After pasting the code into the module, press F5 to run the code. The Save As window will automatically appear with the current date in the File Name text box, as shown in the screenshot:

https://gotkey.net/microsoft-office-2019-home-and-student-key-global-bind/
- You can then enter your desired file name and proceed with saving, as illustrated in the screenshot:
By running this VBA code, you’ve created a convenient way to save your Word documents with the current date automatically included in the file name.


