Since a watermark is typically applied to all pages by default, have you ever attempted to remove a watermark from a specific page in a Word document? This guide provides a method to help you address this issue.
Removing a Watermark from a Specific Page in a Word Document
Please follow the steps below to delete a watermark from a specific page in a Word document.
- Navigate to the page (for example, page 2) from which you want to remove the watermark.
-
How to Remove a Watermark from a Specific Page in a Word Document
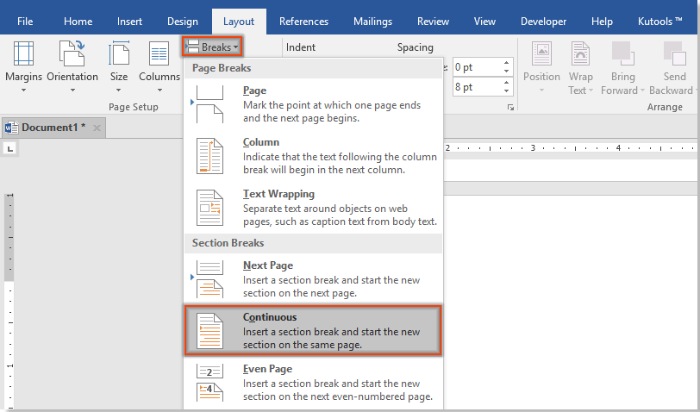
Position the cursor at the top of the page and click on Layout > Breaks > Continuous. See the screenshot below:
- Next, double-click the page header section to enter the Header edit mode and click to disable the “Link to Previous” feature.
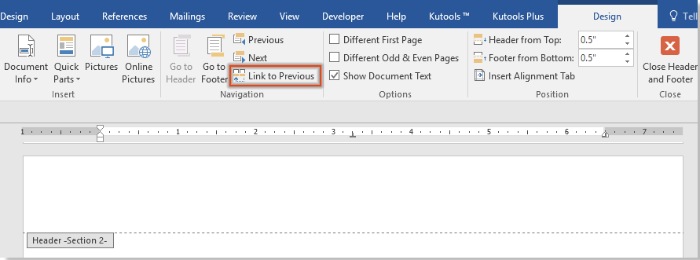
- Click the “Close Header and Footer” button located under the “Header & Footer Tools” to exit the header editing mode.

- Proceed to the next page (page 3 in this case) and repeat the aforementioned steps 2 to 3.
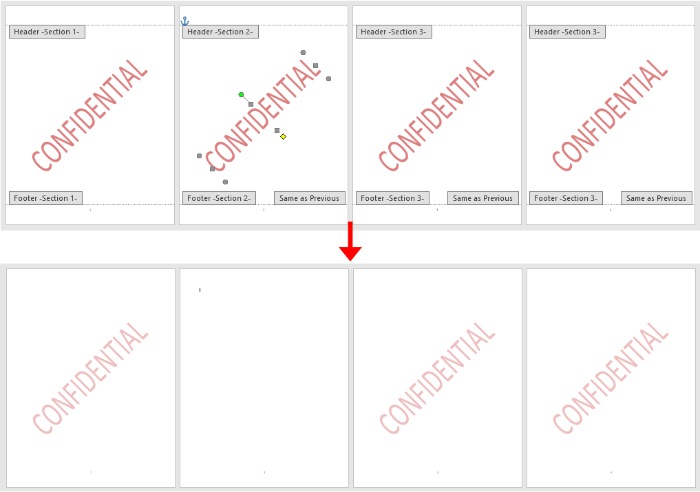
- Return to the previous page (page 2), select the watermark, and press the Delete key to remove it from the page. Refer to the screenshot below:
The process outlined above should enable you to remove the watermark from a specific page in your Word document. If you encounter any issues or need further assistance, please feel free to ask.


