If you wish to insert a date picker in a Word template and display the current date by default, follow these steps:
- Click on “File” and choose “Options.”
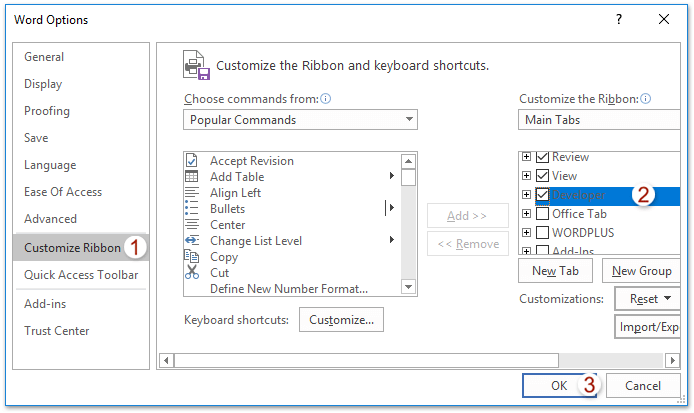
- In the Word Options dialog box, do the following:
- Click “Customize Ribbon” on the left.
- Check “Developer” in the right box.
- Click “OK.”
This adds the Developer tab to the Word Ribbon.
- Click on “Developer” and select “Date Picker Content Control.”
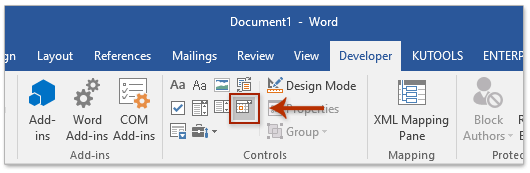
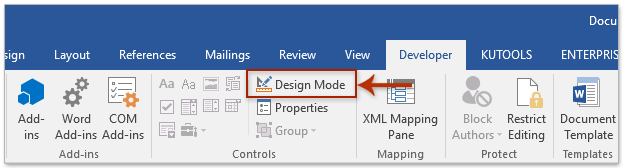
- The Date Picker is inserted into the document. Click on “Developer” and then “Design Mode” to switch to design mode.
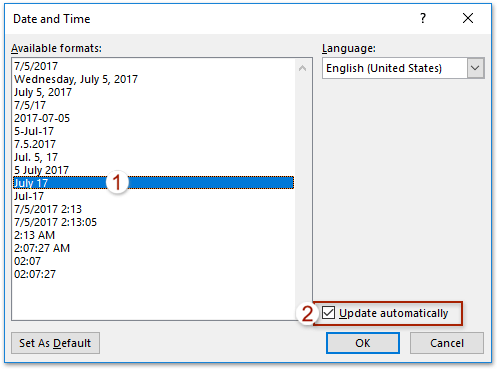
- Keep the “Click or tap to enter a date” text selected in the Date picker. Click on “Insert” and choose “Date & Time.”
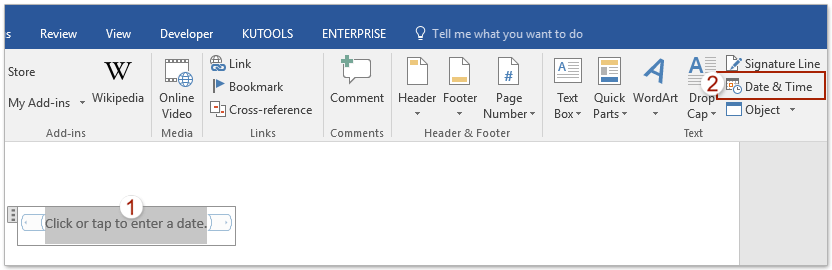
- In the Date and Time dialog box:
- Specify a date format.
- Check the “Update automatically” option.
- Click “OK.”
- Click on “Developer” and choose “Design Mode” to turn off design mode. Then click on “Developer” and select “Properties” to configure the date picker.

- In the Content Control Properties dialog box:
- Type a name in the Title box.
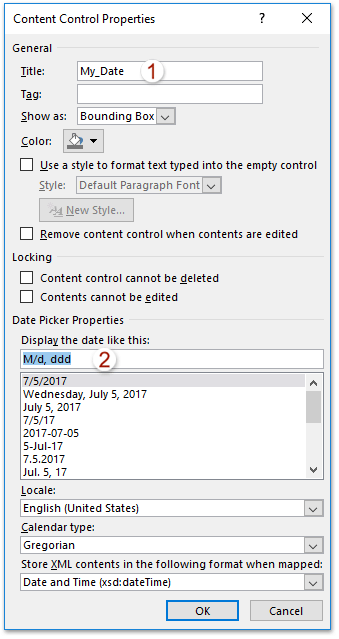
- Select a date format in the Date Picker Properties section or directly type a date format code into the “Display the date like this” box.
- Click “OK.”
How to insert date picker showing current date by default in Word
- Type a name in the Title box.
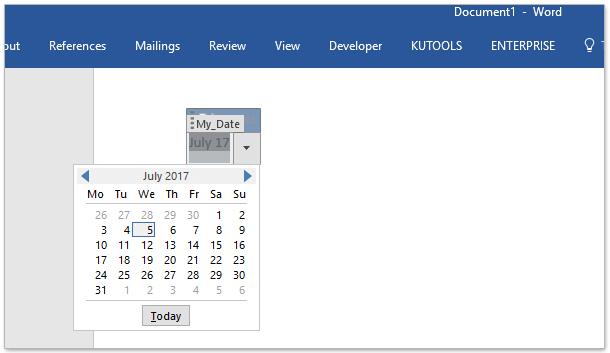
Now you have inserted a date picker in your Word document, and the current date will be displayed by default until you select a different date.


