
An organization chart is an effective way to visually represent the hierarchical relationships within a company. Here, I will guide you through the process of creating an organization chart in Microsoft Word.
Recommended Productivity Tools for Word
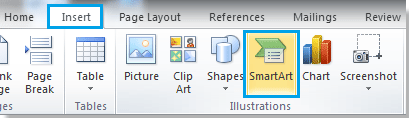
Step 1: Position your cursor where you want to insert the chart and click on “Insert” > “SmartArt.” Refer to the screenshot below:
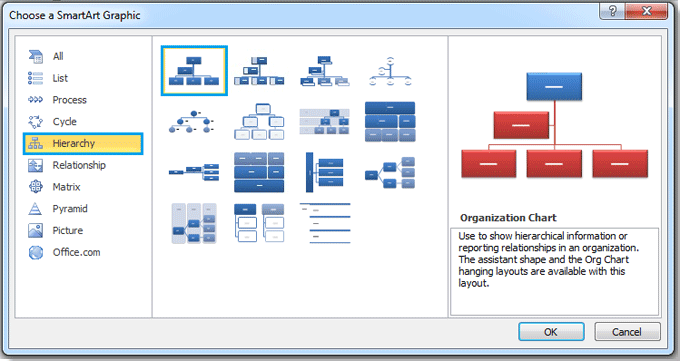
Step 2: In the left pane, choose “Hierarchy” and select a style from the list. Click “OK” to insert the SmartArt. Refer to the screenshot below:
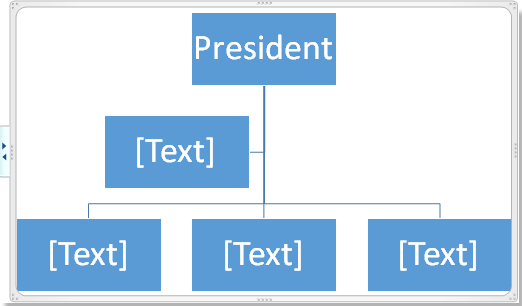
Step 3: Enter the name of the highest-ranking person in the top text box, such as “President.” Refer to the screenshot below:
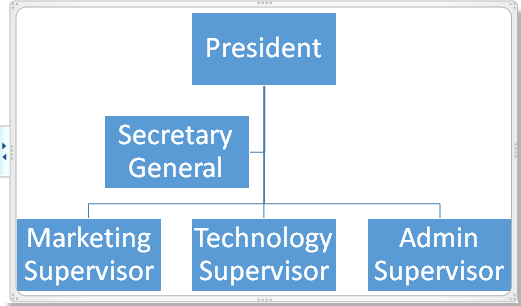
Step 4: Continue filling in the other text boxes to represent the organizational structure. You can adjust the layout based on your needs. See the example below:
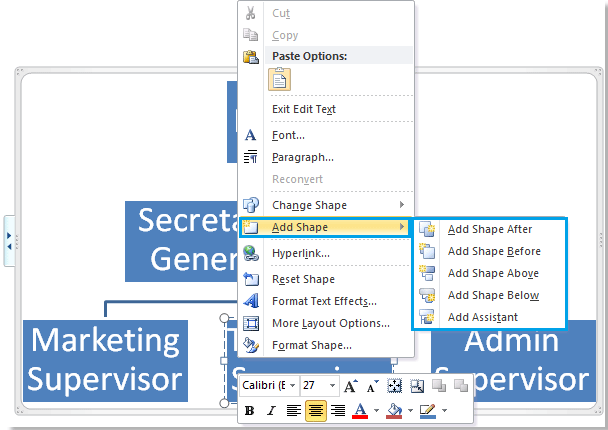
Tip: If you need only two text boxes at a particular level, you can delete one by selecting it and pressing the “Backspace” key. Alternatively, add a new text box by right-clicking on a text box and selecting “Add shape.” See the screenshot below for additional options:
Step 6: Format and design the chart as needed using the options available in the “Design” and “Format” tabs. See the screenshot below for customization examples:
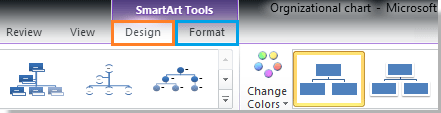
In the example provided, I changed the color and style of the organization chart to demonstrate the result.
How to Insert and Create an Organization Chart in Word


