If you often find yourself needing to add a blank line above a table positioned at the top of your Word document and are unsure how to do it, this tutorial will provide some quick tricks to help you overcome this challenge.
Insert a Line Before the Table at the Top with Shortcuts
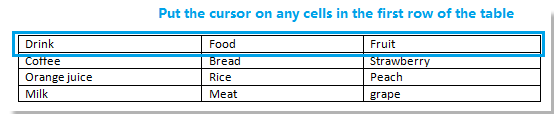
An easy and fast method to add a blank line at the beginning of a table is by using shortcuts:
- Place your cursor on any cell in the first row of the table.
- Hold down the Ctrl and Shift keys on your keyboard.
- Press the Enter key.This action will insert a blank line above the table. Refer to the screenshot below:

Insert a Line Before the Table at the Top with Dragging
Another effective approach is to drag the table downward:
- Click on the cross icon at the top left corner of the table to select the entire table.
- Continue clicking and dragging the table down until a line is inserted.

Insert a Line Before the Table at the Top with a Column Break
Follow these steps to use a column break to add a line before the table:
- Position the cursor on any cell in the first row of the table.
- Navigate to Page Layout > Breaks > Column Break.
 This will insert a line in front of the table. Refer to the screenshot below:
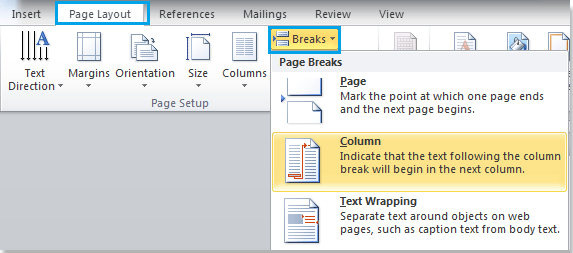
Insert a Line Before the Table at the Top with Split Table
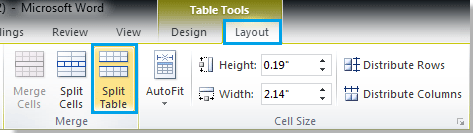
Utilizing the Split Table function is another quick way to insert a blank line before the table:
- Place the cursor on any cell in the first row of the table.
- Go to Layout > Split Table.
 This action will insert a line in front of the table. Refer to the screenshot below:
How to insert a line above a table at the top of the document
Feel free to choose the method that best suits your preferences and workflow.


