You might want to customize the default font style that Word uses when you start a new document. Below is a more refined and improved version of the steps to change the default font, font size, or font color according to your preferences using the Font feature in Word.
Changing the Default Font Using the Font Feature:
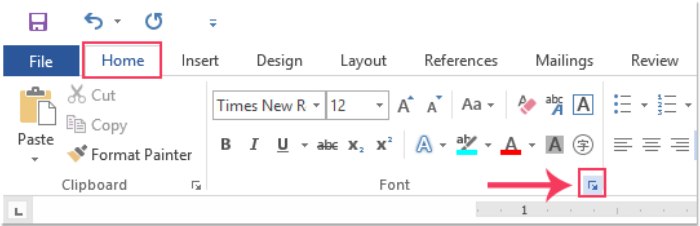
- Open a New Word Document:
- Launch a new Word document, then navigate to the “Home” tab and click on “Font Launcher.” See the screenshot:
How to Change the Default Font in Word Documents
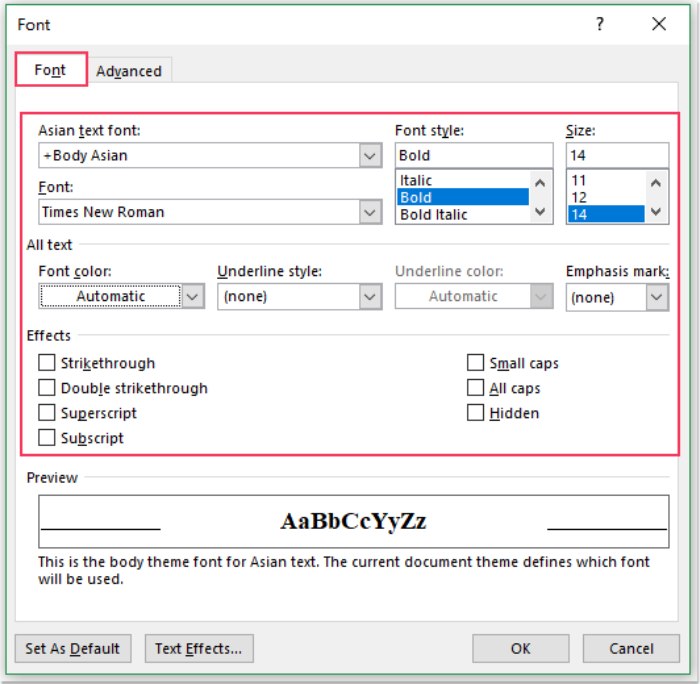
- Utilize the Font Feature:
- In the “Font” dialog box, under the “Font” tab, choose the font style, font size, and font color that suits your preferences. See the screenshot:
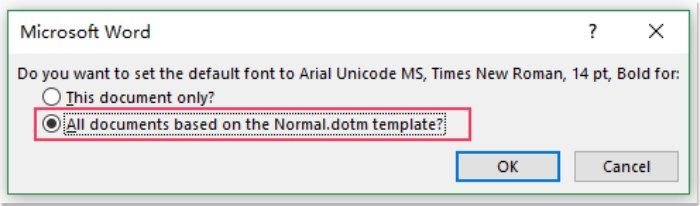
- Set as Default:
- Next, click on the “Set as Default” button. A confirmation dialog will appear; select the option “All documents based on the Normal.dotm template?” and click OK. See the screenshot:
- Finalize the Process:
- Click OK to close the dialog box. From now on, every time you create a new document, the font style, font size, and font color you selected will be applied as the default.
This way, you have successfully personalized the default font in Word documents according to your preferences.


