To add a drop-down list to your Word document, follow these steps:
- Click on “File” and choose “Options.”
- In the Word Options dialog box:
- Click “Customize Ribbon” on the left.
- Check “Developer” in the right box.
- Click “OK.”

This adds the Developer tab to the Word Ribbon.
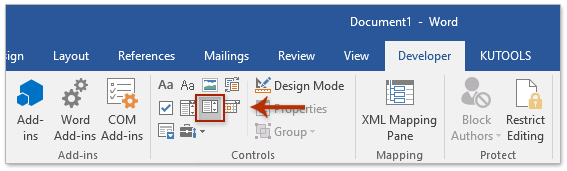
- Click on “Developer” and select “Drop-Down List Content Control.”
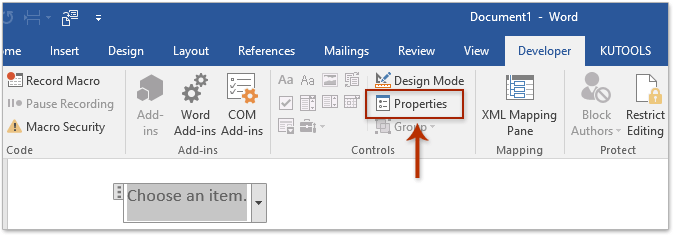
- A new drop-down list is inserted into your document. Click on “Developer” and choose “Properties.”
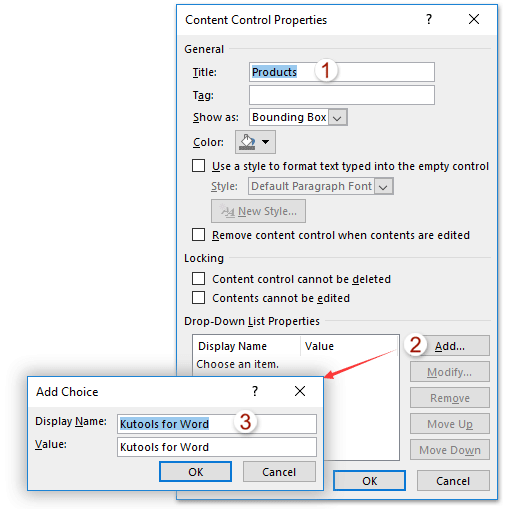
- In the Content Control Properties dialog box:
- Name the drop-down list in the Title box.
- Click the “Add” button in the Drop-Down List Properties section.
- In the Add Choice dialog box, type a choice in the Display Name box and click “OK.”
- Repeat the above steps to add other choices for the drop-down list.
- Click “OK” in the Content Control Properties dialog box.
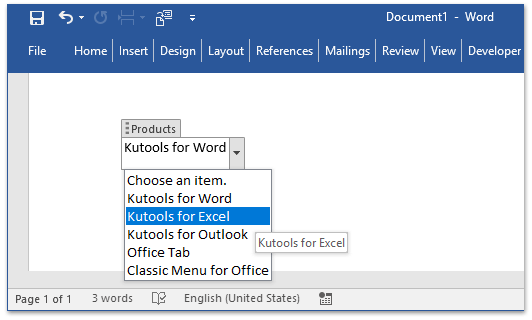
How to insert a drop down list in Word
Now, you have successfully inserted a drop-down list with a specified title and choices in your Word document.


