How to Rename and Format Sheet Tabs in Excel: A Step-by-Step GuideIn this tutorial, we’ll explore the process of renaming sheets and formatting sheet tabs in Excel, simplifying what might initially seem like a complex task.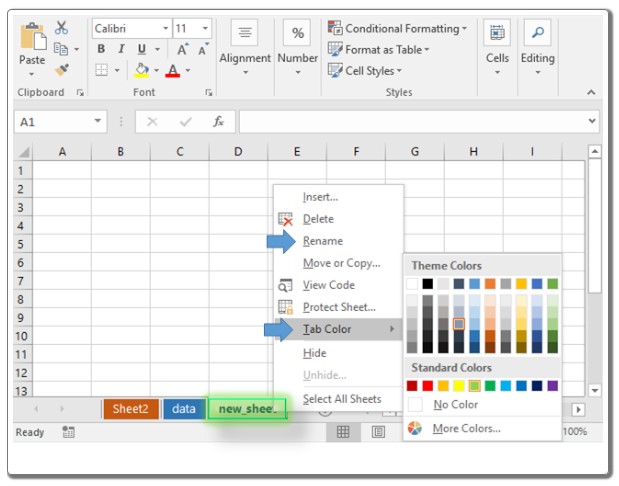
Rename and Format Sheet Tabs in Excel: Default Sheet Naming
When we create a new sheet in Excel, it’s automatically labeled as Sheet1, Sheet2, and so on. Excel doesn’t prompt us to assign a name beforehand. To make your data more organized, renaming these sheets and applying different color formats can be incredibly helpful. Here’s how to do it: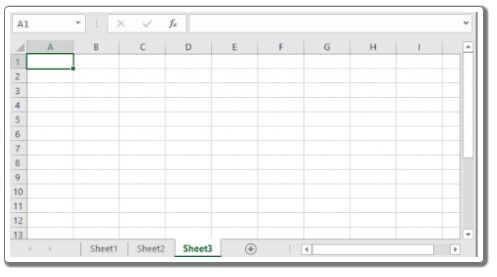
Step 1: Renaming Sheets
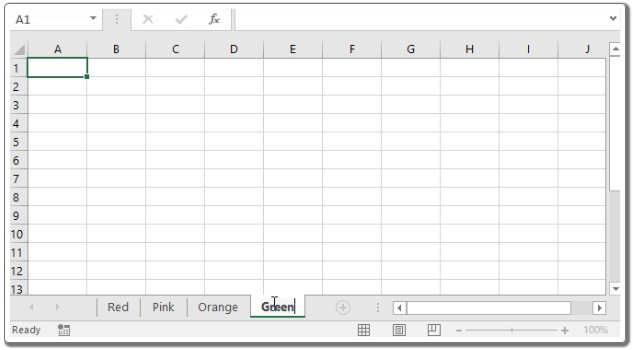
- Right-Click and Rename: Right-click on the sheet tab you want to rename. Select ‘Rename’ from the dropdown menu.
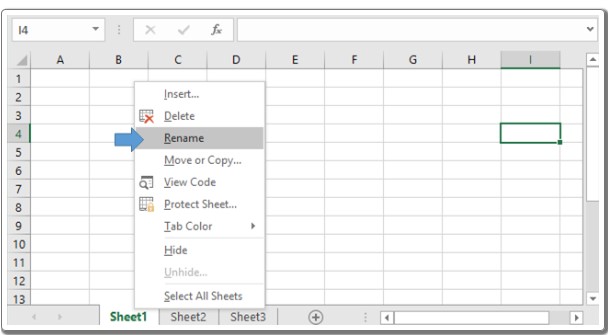
- Edit Manually: A text box will appear over the sheet tab name. Here, you can manually edit the name. Repeat this process for each sheet.
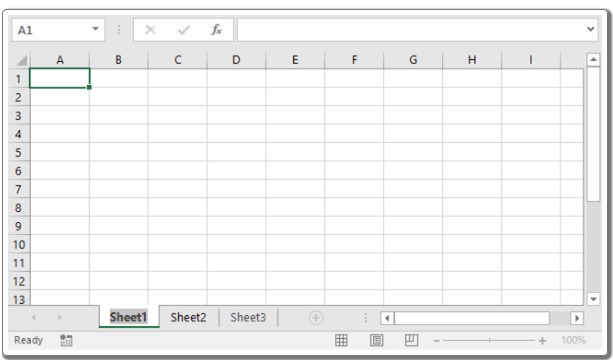
Note: Excel doesn’t allow undo for sheet tab editing, so ensure accuracy in each step.
(Minimum: 1 character, Maximum: 31 characters, No duplicates allowed, Some special characters not allowed.)
Pro Tip: You can also double-click the tab name for quicker editing.

Step 2: Formatting Tab Colors
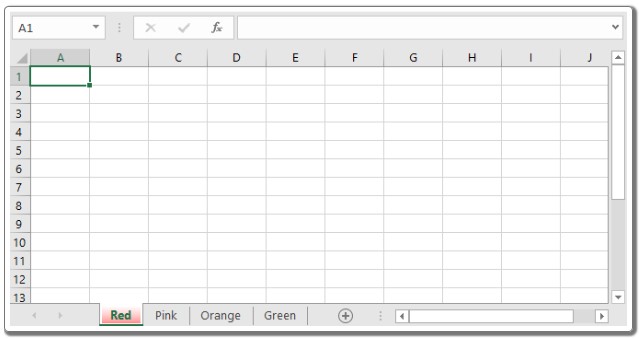
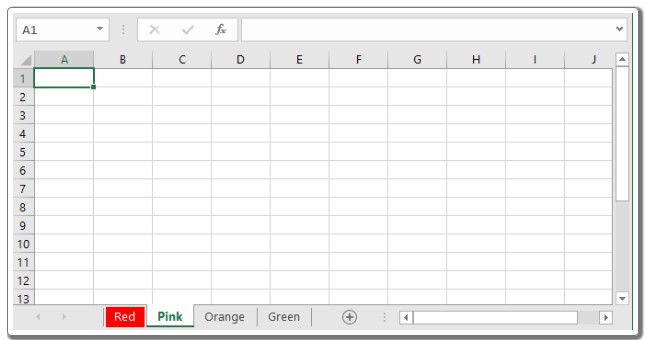
- Right-Click and Choose Tab Color: Right-click on the sheet tab whose color you want to change. Select ‘Tab Color’ from the dropdown.
- Select Desired Color: A palette of theme colors will appear. Choose the color you prefer. The tab will now be visibly colored, making identification easier.

Tip: Assign different colors to different types of data for quick visual reference.
Common Issues and Considerations: Rename and Format Sheet Tabs in Excel
- Character Limit: Sheet names must be between 1 and 31 characters.
- Duplicates: Each sheet must have a unique name.
- Special Characters: Avoid using characters like [, ], *, ?, /, , ‘, ” in sheet names.

Rename and Format Sheet Tabs in Excel. Remember, organizing your sheets through thoughtful naming and coloring significantly enhances your Excel experience. Good luck, and happy Excel-ing!


