
Creating a Yes/No Drop-Down in Excel: Quick and Easy Methods
The drop-down feature in Excel is a handy tool for efficient data entry, allowing you to select from pre-populated options rather than typing manually. It not only saves time but also reduces the risk of errors.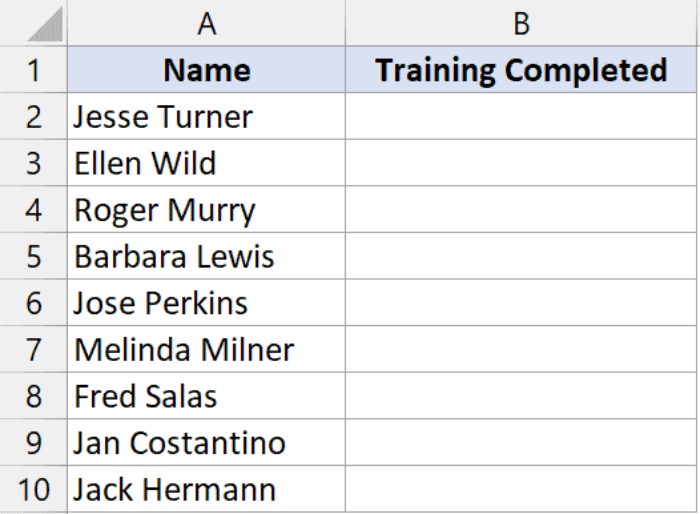
In this tutorial, we’ll explore two straightforward methods to create a Yes/No drop-down list in Excel.
Method 1: Manual Entry of Values
- Select the cell or range where you want the drop-down.
- Navigate to the ‘Data’ tab.
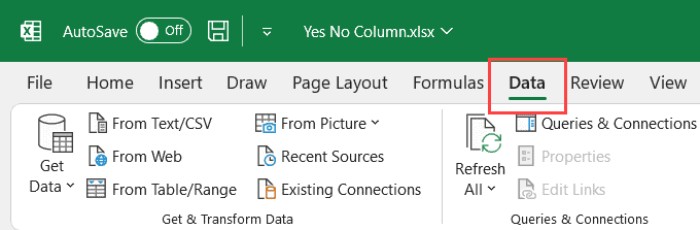
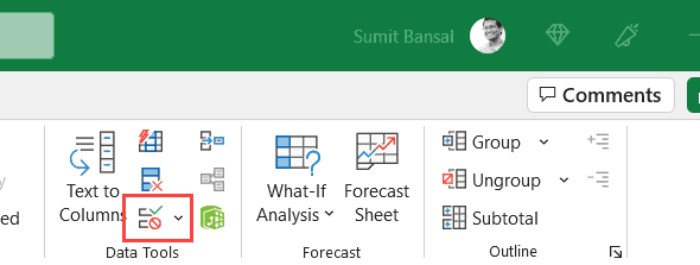
- Click on the ‘Data Validation’ icon in the ‘Data Tools’ group.
- In the ‘Data Validation’ dialog box, go to the ‘Settings’ tab.
- Choose ‘List’ from the ‘Allow’ drop-down menu.
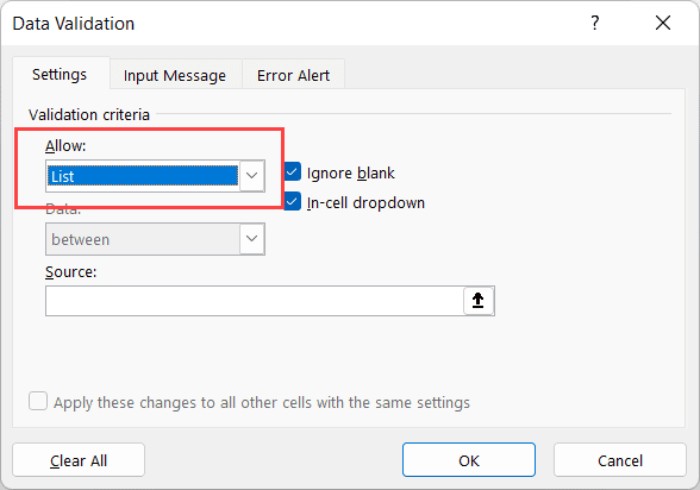
- In the ‘Source’ field, enter “Yes,No” (without quotes).
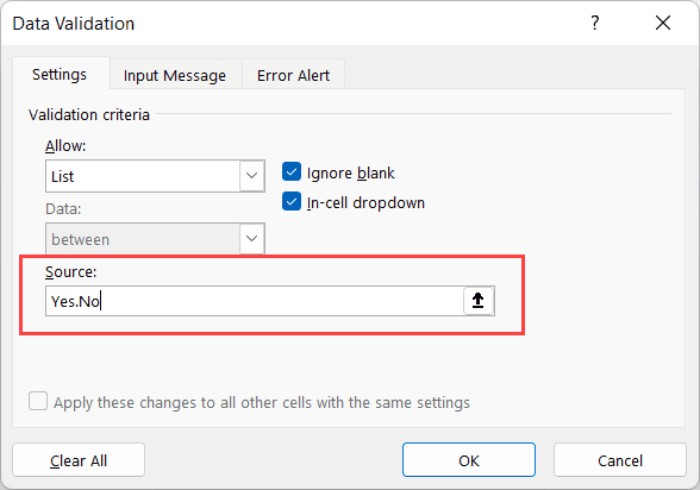
- Click OK.
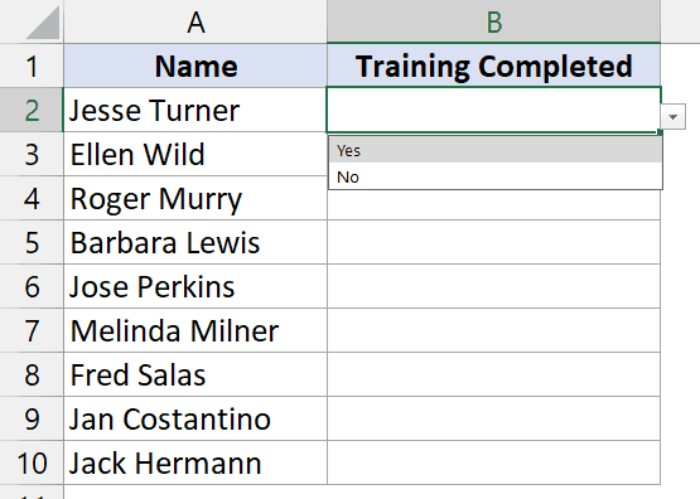
Now, a Yes/No drop-down list is added to the selected cells. You can click the drop-down icon to choose either Yes or No. Use the keyboard shortcut ALT + Down Arrow Key for quick access.
Please note that attempting to enter values other than Yes or No will trigger an error.
Pro Tip: Quickly open the data validation dialog box using the keyboard shortcut ALT + A + V + V after selecting the cells.
This method involves hard-coding the drop-down values, so any changes to the options require revisiting the Data Validation dialog box.
Stay tuned for Method 2 to enhance your Excel skills!
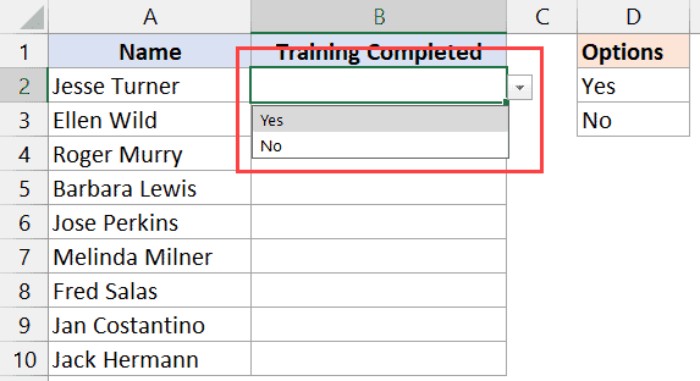
Dynamic Yes/No Drop-Down List in Excel: A Smart Approach
In the previous method, we manually set the Yes/No values in the data validation dialog box. Now, let’s explore another approach: entering values in cells and using them as the source for a dynamic drop-down list.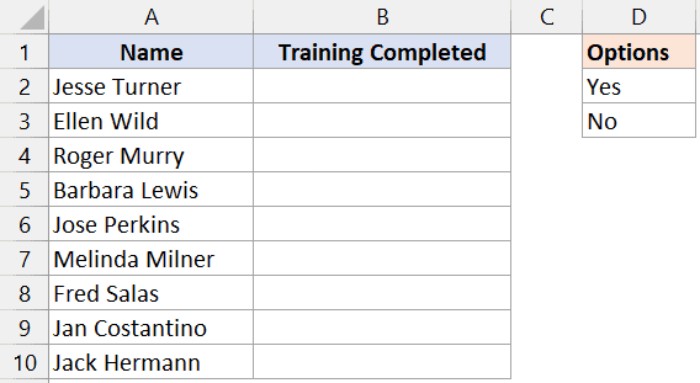
This method offers a dynamic drop-down, meaning changes to the source cell values automatically update the drop-down.
Steps to Create a Drop-Down Using Cell Values:
- Select the cell or range for the drop-down.
- Navigate to the ‘Data’ tab.
- Click on the ‘Data Validation’ icon in the ‘Data Tools’ group.
- In the ‘Data Validation’ dialog box, go to the ‘Settings’ tab.
- Choose ‘List’ from the ‘Allow’ drop-down menu.

- Click on the range selection icon in the ‘Source’ field.

- Select the cells containing Yes/No values; the reference is added automatically.
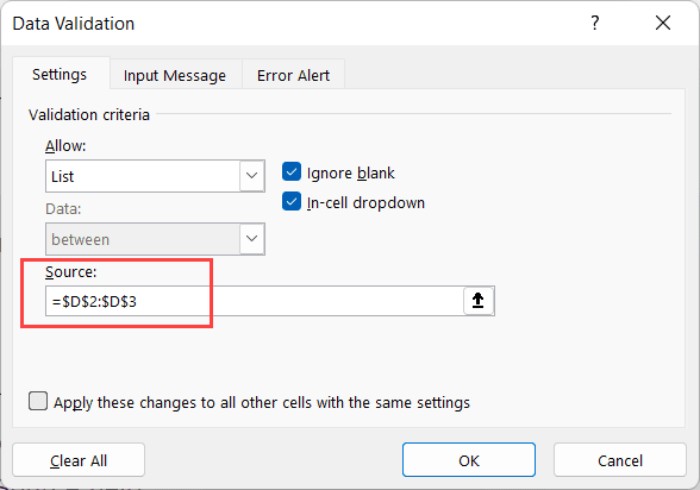
- Click OK.
This method yields a drop-down list using the selected cells as the source.
Copy and Paste Drop-Down Lists:
Dropdown lists can be copied just like cell formatting. If you have a Yes/No drop-down in one cell and want the same in another, simply copy and paste the cell with the drop-down list.
Editing Drop-Down Lists:
To edit drop-down values or make changes, open the data validation dialog box. For corrections or altering the source cells, adjustments are made in the dialog box.
This short tutorial demonstrated creating a straightforward Yes/No drop-down list in Excel. I hope you find this technique practical and valuable.


