Using SmartArt can add a visually appealing touch to your Word document. To transform simple lists into SmartArt and enhance the visual appeal, follow this step-by-step tutorial.
Recommended Productivity Tools for Word
Step 1: Select and copy the list (or multiple lists) you want to convert to SmartArt. Place the cursor at a blank location, and click on “Insert” > “SmartArt.” Refer to the screenshot below:

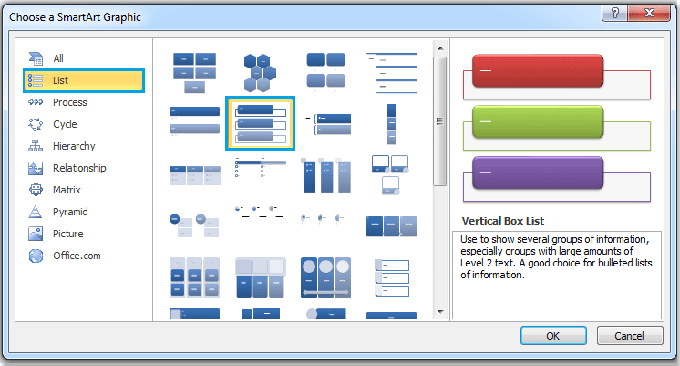
Step 2: In the left pane of the pop-up dialog, click on “List,” and choose a list style. Click “OK.” Refer to the screenshot below:

How to convert a list or multiple list to smartart in Word
Step 3: Click the extension button to expand the SmartArt dialog. See the screenshot below:

![]()
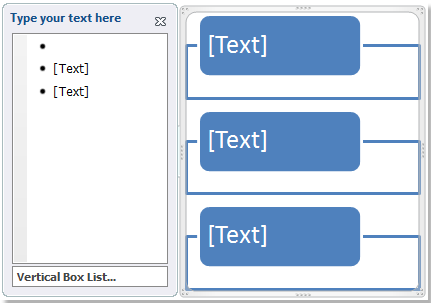
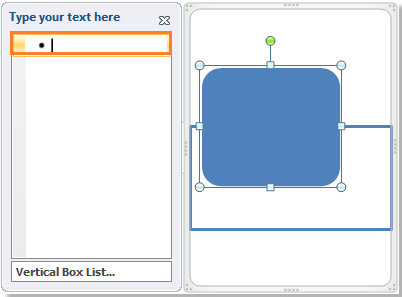
Step 4: Press the Delete key on the keyboard to remove all text boxes, leaving only one in the “Vertical Box List” under “Type your text here.” Paste the list (or multiple lists) into this box. Refer to the screenshot below:
![]()
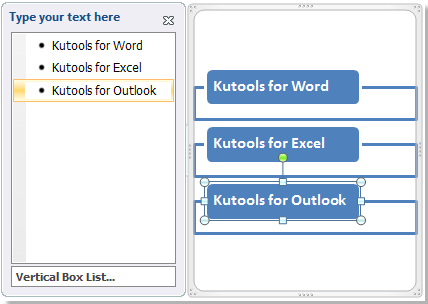
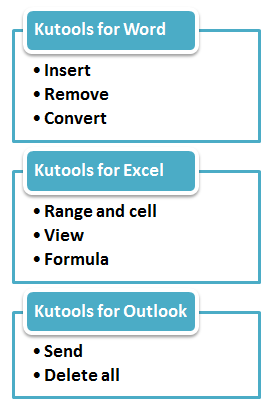
Step 5: Specify the color and format of the SmartArt from the “Design” and “Format” tabs. You will see the list converted to SmartArt, as shown below:

![]()
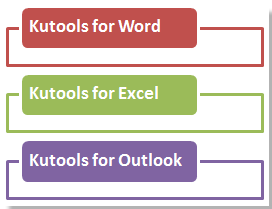
For multiple lists, you can observe the results in the screenshots below after converting them to SmartArt.

![]()
